The WeatherOps companion mobile app provides a powerful situational awareness view that can be accessed from any location, ensuring that whether you’re utilizing Commander or the mobile app, you have the same weather decision support information at all times.
The WeatherOps App is free to download from the App Store or Google Play:
- iOS Users – https://itunes.apple.com/us/app/weatherops-by-wdt/id921749366?mt=8
- Android Users – https://play.google.com/store/apps/details?id=com.wdtinc.android.WeatherOps2
Login
Once you have the app installed on your mobile device, open up the app and log in with credentials provided for the web portal.
Main Screen – Assets
Upon initial launch, you are taken to the Assets screen, which is where you can view and add assets from your company’s Commander web portal. Initially, this screen will be blank until you load assets.
Load Assets ![]()
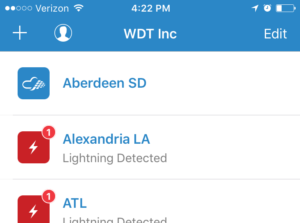
To load an asset from your company’s WeatherOps Commander web portal, select the plus sign (+) in the upper left-hand corner. A list will populate with your monitored assets. You may choose one or multiple assets. Once you have selected the ones you want to monitor, select “Add” in the upper right-hand corner.

Add Location
![]()
Your locations (current locations and up to 5 saved locations) are now stored separately from the Commander assets in the Locations tab. Your current location will be the only one stored until you add others. The app can track your current location, and you can save up to five additional locations different than those monitored in Commander.
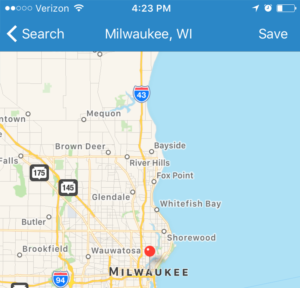
To add a new location, select the plus sign (+) in the upper left-hand corner and type in the name of the city to search (Milwaukee, WI, in this example). A map will populate with a pin which you can drag and drop on the exact position of interest. Personalize your locations by tapping on the city name to edit.

Deleting Assets and Locations
Remove assets from either the Assets or Locations screen by swiping left on the asset name, then tap the delete button that appears. You can also tap on Edit in the upper right-hand corner to eliminate or edit the asset location and information.
Asset Settings
All Commander Asset settings will be imported from the web portal, including lightning range rings, NWS/WeatherOps alert settings, and Daily Planner/Weather Check threshold settings. These settings are all configured within the Commander web portal. A Company Admin will need to make any changes to the settings in the web version.
Location Settings
![]()

Settings for your current and saved locations can be configured by selecting the gear icon on the Locations screen. This will bring up the settings page where you can customize the alerts you receive (lightning, National Weather Service, WeatherOps). We recommend Background Tracking remains on, so you can receive alerts for your current location. Any alert settings will affect all of your saved locations.

Alerts
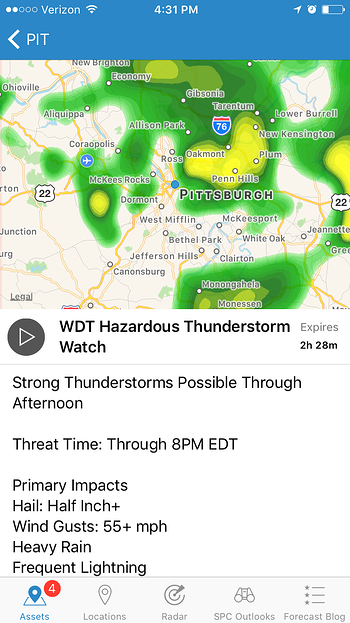
Any time an alert (Lightning Proximity, National Weather Service, or WeatherOps Forecaster) is issued for either your current, saved or company’s locations you’ve added, you will receive a push notification. The asset will also show a notification when it is under an alert, as shown here for the PIT asset. If you would like more information on the alert, tap on that asset’s label. You can then select the active alert to get more information, including the full text.

Asset Detail Screen
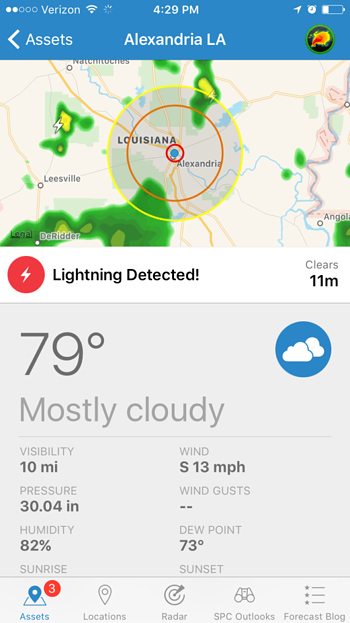
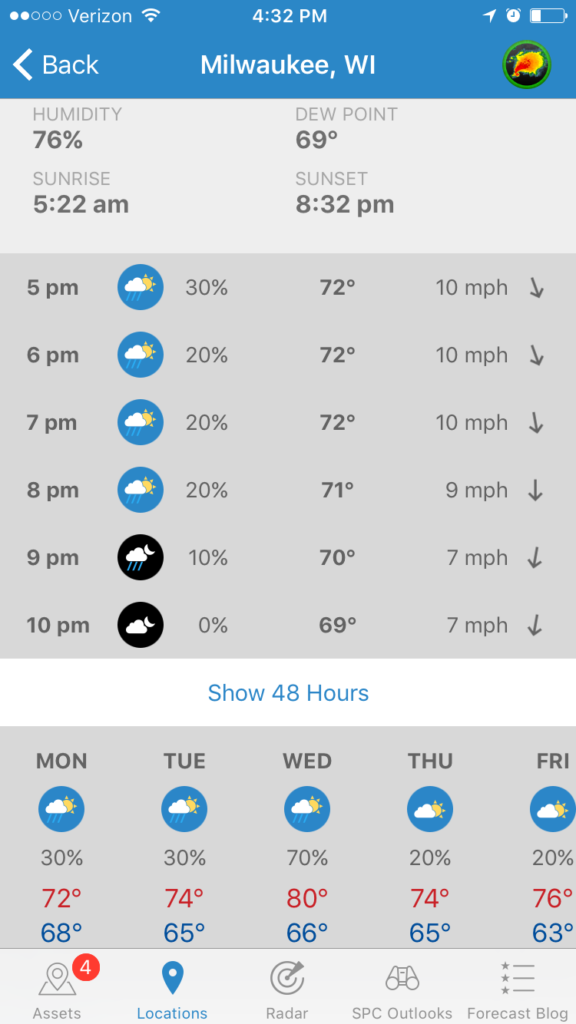
Selecting an asset or location brings up the Asset Detail Screen, which includes details about the current conditions and the forecast. The latest WeatherOps Daily Planner and Weather Check are available for Company assets on the detail screen. For Locations, an hour by hour forecast is available for the next 6 hours (can be expanded to 48 hours), as well as a daily forecast for the next seven days.

RadarScope
The WeatherOps app connects and can transfer your locations to DTN’s RadarScope* app, for true radial NEXRAD weather radar. If you tap on the RadarScope bug in the upper right-hand corner of the asset screen, you will be transferred to the RadarScope app (when installed on that device) to view the high-resolution radar data in the area of your asset.

*Note – RadarScope must be installed on the mobile device. If it is not installed, it can be purchased for $9.99 from the App or Google Play Store.

Map
The map can be accessed either via the asset detail screen or by tapping on the Radar icon at the bottom. Radar and WeatherOps Hazards overlay the map by default, as well as your saved location markers. The icons on the left-hand side are the map controls. From top to bottom: The compass arrow shows your current location and centers the map there. The “i” icon brings up a menu to change the map type, weather layer, and add lightning or storm reports markers to the map. The layer icon brings up the menu to change alert group overlays. The play button animates the map.

and More…
Other icons at the bottom of the screen take you to the following:
- Storm Prediction Center (SPC) Outlooks for severe weather over the next three days.
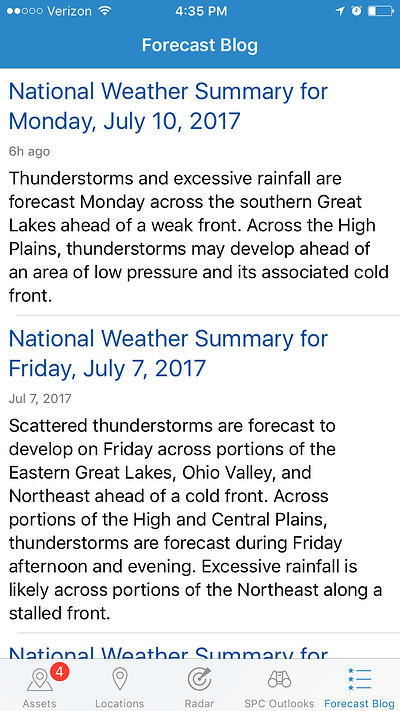
- The Forecast Blog with the daily National Weather Summary issued by WeatherOps meteorologists.

