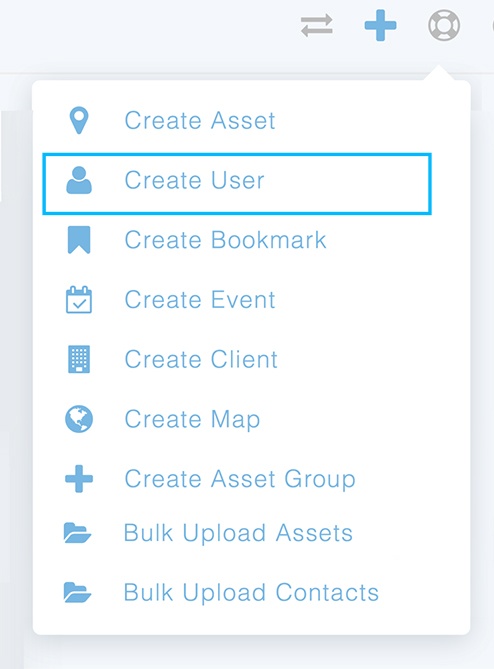
To create a new user, follow these three steps. There is a short video tutorial below.
Step 1
In the upper right-hand corner, select the blue plus sign (+) to bring up the create tab.
Step 2
Within the Create User screen, enter the following required information:
- Name
Optional Information can also be entered:
- Phone number
- SMS number (Use if a user needs to be alerted via SMS)
- User Redirect on Login (a user can be automatically redirected to another page within Commander upon login)
- Username (Any users needing to access the Commander web portal or the WeatherOps mobile app will need a username created. Once the user is added, they will receive an automatic email to set up their password.)
- User Role (Asset Manager, Basic User, User Group, or Company Admin – see below for descriptions)
- Assign assets to a user, if the Asset Manager role is selected
Step 3
After creating users, remember to:
- Configure product distribution lists in the Company Matrix
- or Add users to distribution under an event if using WeatherOps Scheduler
Important Information
Basic Users can:
- View and interact with the WeatherOps Display
- See Archived Reports for assets assigned
- Change username/password
- Company settings are not available for viewing or updating
A User Group is very similar to a Basic User but designed for a group of people using the same login credentials for Commander access. A Company Admin is the only one who can change the username/password for a User Group.
Asset Managers
- Do everything listed under Basic Users
- Manage distribution lists and assets that have been assigned to them
- Create new users
Company Admin
This role is reserved for individuals responsible for managing the company’s users and settings.
