To add a new custom map view for WeatherOps Display, follow these steps.
Step 1
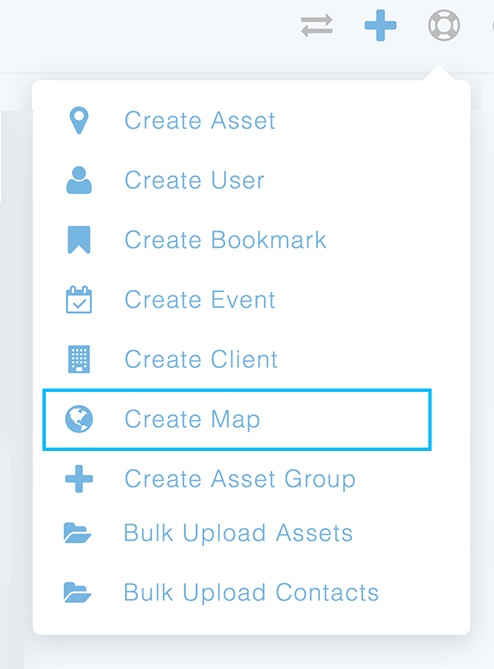
In the upper right-hand corner, select the blue plus sign (+) to bring up the create tab.
Step 2
Add the map info:
- Name
- Base Map (basic, terrain, satellite, or dark)
- Center lat/lon (or move the map image to adjust visually)
- Zoom
Once all of the required fields have been completed, click “Create Map.”
Step 3
You will be taken to the Map Settings page, where you can select the Default Products to be automatically loaded on the map when the WeatherOps Display is launched. For more information about options and customizing your new map view, check out the Map Settings article.